Problem
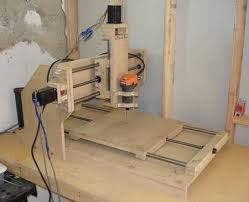
I want something that lasts and is rigid. Not a flimsy machine made out of wood or plastic. I want to be able to cut aluminum.
- All Aluminum and Steel Construction
- We don’t compromise anywhere. All of the major frame components and pieces are either aluminum or steel. No plastic. No wood. No worries. Our machines are built to be rugged and handle whatever project you happen to throw at them.
- TTP System Gives The Table Maximum Rigidity
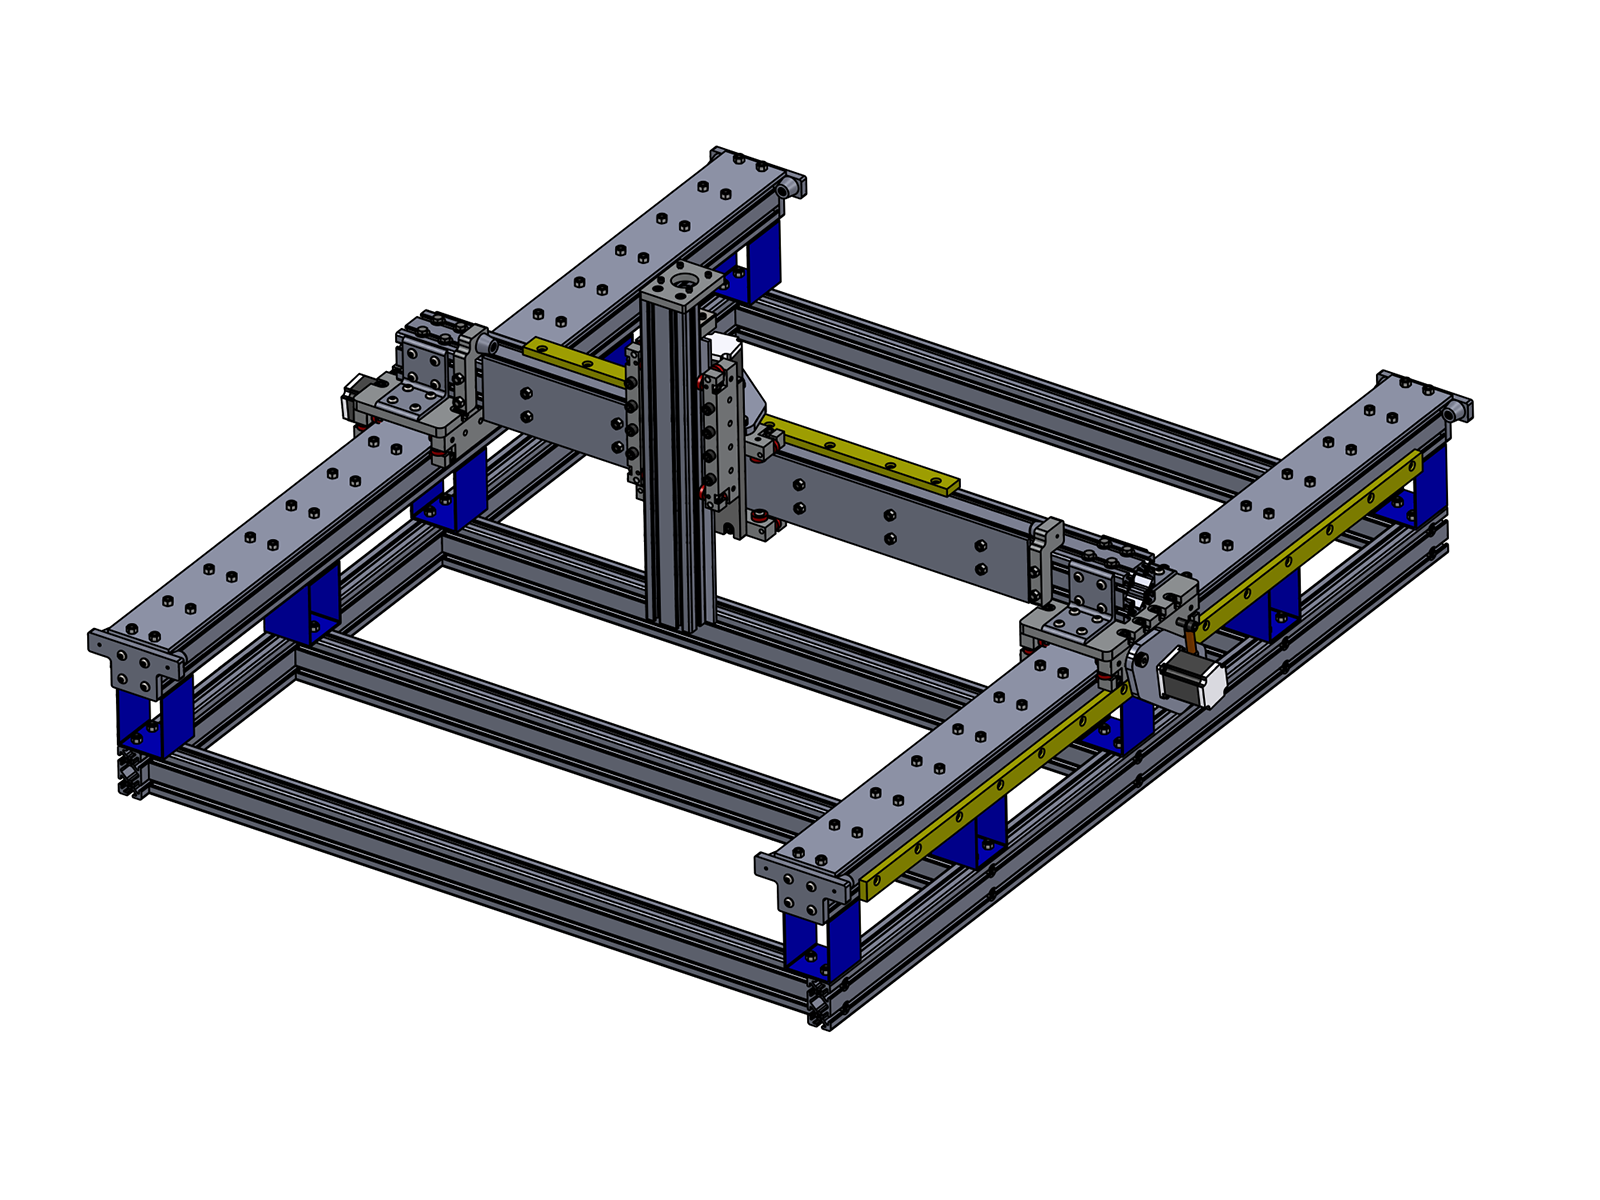
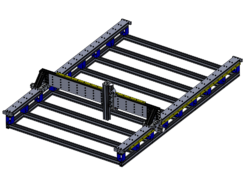
- Our Tension Table Pro (patent pending) system is designed to give you maximum rigidity of the frame. Many machines just use a few fasteners and maybe some brackets to connect the aluminum extrusions, but it’s not as rigid as it could be. Our TTP system connects the frame by running 12 threaded rods through the frame and then tensioning them down. It is the most rigid connection system in it’s class and is the best method for preventing the machine from twisting or bending. Take a look at the overview video below and see how it can benefit you.
- Riser Block System Ties Everything Together
- Part of the challenge in designing a machine like this is making sure that all connection points are both rigid and easy to assemble. When we decided to raise gantry up 7″ to give you the clearance you need for parts, we had to come up with an easy way to attach this part to the table and was still rigid. The Riser Block system is our solution. The system does 4 key things:
- The blocks, placed in alternating orientation, have been designed to only deflect 0.0002″ inches on 400 lbs of cutting force, which is more force that you should see when using the machine.
- The blocks slip into the T-Slots and can be easily attached without having to take anything apart or pre-insert screws
- The blocks tie into both 8020 extrusion pieces at the the table attachment point and provide a second set of connections to tie the table together.
- The blocks will automatically pull all of the table cross pieces square and level with each other, ensuring that your table top is square and level when you use it. The following overview video shows and highlights the benefits of this system:
- We Believe In Maintenance, Self Service, And Building To Last
- We hate throwing stuff away because one tiny piece breaks and you can’t fix it yourself. We believe that products should be designed for maintainability and self service. You are making an investment that needs to last a number of years, and we have designed the machine to do just that. We always carry spare parts for all of our machines on hand so you never have to worry. We also provide all the plans for each part of the machine, so even in the highly unfortunate case that we aren’t around 20 years (we certainly expect to still be going strong) from now when you need that spare part you can be assured that you can either buy it off the shelf or make it yourself.
- Mostly Made In The USA
- All of the machined components and 80/20 extrusion are made in the USA. All of the assembled components are assembled in the USA. The kit is designed and packaged in the USA. We do all these things in the USA because we want to deliver quality components made to tight tolerances that are built to last.

Problem
I am new to CNC and don’t know if I can assemble it and use it. Most instructions are just confusing. And how will I design and build my projects the “CNC Way”?
- Assembly Videos
- We provide you with a videos included in your kit on how to build the machine. Every step is fully laid out in it’s own separate bag and ready for you to build. The video details every step you need to get your machine up and running. Take a look at the assembly video now before you buy. If you can follow the video, the machine will be a breeze to put together.
- Exploded Drawings and Full CAD plans
- If you’re a visual guy and prefer to build off of a set of plans, we have the several formats available. The full SolidWorks plan set is available for those that have Solidworks 2013 or greater. If you don’t have Solidworks, we offer an EASM format, which you can access by downloading a free viewer program. This program allows your to move around the model, measure distances, hide certain parts, and can be a great aid when assembling the machine. If you prefer a paper set of plans, we have a full set of exploded PDFs that you can download to get what you need. Just click on the Downloads tab and you should see links for all of these plans.
- Parts are broken into steps that are fully labeled and quickly accessed
- It’s convenient for us to put all of one type of screw in a single bag, regardless of whether or not that screw is used in 10 different steps. That creates a lot of hassle for you though because you constantly need to search for the bolts you need. So, we don’t do that anymore. Instead, we bag each step separately and include only what you need in that step. We want this build to be enjoyable, not frustrating.
- CNC Basics articles and videos on how to run the machine
- Often the biggest question is, after the machine is together and running, how do I use it to cut out the parts I need. We have a collection of articles on CNC Basics. They cover a wide range of basic topics like holding your work down, selecting bits and feedrates, and how to zero the machine. These articles are supplemented with videos that illustrate the concepts on our machines. Don’t see something you have a question about? Shoot us an email and we’ll get the question answer and put an article up about it.
- Featured Projects show you how to do a project the CNC Way
- Featured Projects are a way to learn how to design a project for the CNC. We give away plans to build cool projects that you can take and run on your machine. We give instructions on the design process and tips for designing, cutting, and finished the project that you can take and use on your own projects. It’s an excellent introduction into the world of CNC design. Check out the Featured Projects. We are adding more each month.
- CNC Basics articles show you how to design projects to get the most out of your machine
- CNC Basics Articles on Design Videos on Designing projects – The CNC Basics series covered more than just the basic machine setup and operation. We have a series dedicated to showing you different design techniques you can do with your next CNC project.
Problem
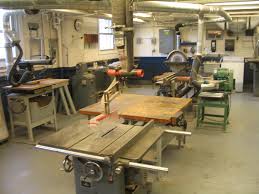
Multiple manual machines take up a ton space and workflow and require customized jigs for anything non-standard.
- Machines you can replace with a CNC
- Here’s just a sample list of common machines and processes that can be transitioned to the CNC router:
- Table Saw
- Cutting sheets into final dimension pieces
- Cutting rabbits and dados
- Scroll Saw
- Cutting customs shapes and inside pockets.
- Cutting intricate detailing
- Router Table
- Cutting rabbits and dados
- Cutting end sections like Box Joints, Finger Joints, and Dovetails
- End work on pieces like roundovers, chamfers, and raised paneling
- Eliminate creating and using templates for custom shapes
- Drill Press
- Drilling any sized hole
- Pocketing large holes that would normally require hole saws
- Creating mortises
- Countersinking and counterboring
- Table Saw
- Redefine you Workflows
-
Imagine that your building cabinets for a customer that requested dovetails on the drawers, adjustable shelf pins on the open cabinets and a custom carving on each raised panel.
Your workflow without a CNC might look something like this:
- Cut all pieces to final length on the tablesaw and miter saw.
- Use your pocket hole jig to make the pocket holes.
- use your shelf pin jig to make the shelf pins.
- Use a router to profile all edges and create the raised panel doors.
- Use a templating jig to route the custom carving on each face frame.
- Use a custom router jig to carve out the hinge pockets on the door.
- use a dovetail jig to dovetail the drawer sides.
- Finally we get around to assembly of the cabinet.
Note that the above assumes all the jigs are on hand and you don’t have to make anything.
our Workflow with a CNC might look like this:
- Load plywood sheet onto CNC. CNC cuts out set of drawer frames and a set of cabinet sides. While CNC is cutting, cut out the face frame and raised panel frame pieces on the miter saw.
- When CNC is done, set up drawer sides on CNC to be dovetailed. CNC dovetails drawer slides while you are free to continue working on the cutting, pocket holes, and assembly for the face frame.
- Load wood on CNC for raised panels and drawer frames. CNC cuts out the profiles, does the edge work, does the carving on the panel, and drills the hardware holes. While this is running, you are free to work on assembly of the other parts.
Our CNC routers can drastically simplify your workflow. Not only that, but things that were not possible before like crazy shapes and 3D carvings become design staples that give your projects flare and style, in large part because they are so easy to include.
- No more custom jigs on projects
- Want to cut out a cutting board in the shape of Texas? That’s as easy as producing a square piece. Custom jigs you used to make for things like arcs, lettering, and pockets are no longer needed. Just clamp the material down to table and let the machine do the work. You no longer need that shelf pin jig or the dovetail jig. All of that can now be done on the CNC Router. Even your custom tablesaw sleds for angle cutting, cross cutting, and specialty cuts like coves are not longer needed. The CNC router should make custom jigs a thing of the past.
| Weight | 175 lbs |
|---|---|
| Dimensions | 60 × 25 × 25 in |
Be the first to review “2′ x 4′ CNC Router” Cancel reply
Related products
$2,375.00
$3,800.00
Sale!

Reviews
There are no reviews yet.